

How to Vlog With Your Phone: Settings, Gear, and Shot Ideas
If your camera roll is full of half-finished vlog clips that never made it to your feed, trust me—you’re not alone.
Before I found my rhythm, I had so many clips just sitting in drafts. Aesthetic coffee pours, day-in-the-life moments, even sit-downs with perfect lighting—all recorded, none posted. Not because I didn’t want to share, but because I kept getting stuck in my head: overthinking the angles, the settings, the flow.
👇🏽 Watch the full video here:
So if you’re someone who wants to start vlogging but keeps getting overwhelmed? This is for you.
In this post, I’m breaking down how to record smoother, more intentional vlogs using just your phone—specifically the Samsung S24 (though these tips apply to iPhone too). We’ll talk phone settings, essential gear, shot ideas, and how to stop overcomplicating the process so you can finally hit post.
Let’s get into it.
This post contains affiliate links, which means I may earn a small commission if you purchase through them—at no extra cost to you. I only share products I’ve personally used and genuinely recommend. Thank you for supporting my work and helping me continue to create free content for creators like you.
Can You Really Learn How to Vlog With Your Phone?
Short answer? Absolutely.
Your phone is more powerful than you think. What matters most isn’t the tool—it’s how you use it. I’ve filmed entire vlogs on my phone that look just as clean and cinematic as content shot on cameras. And the best part? No learning curve, no massive files to deal with, and no need for a crew.
What makes a vlog stand out isn’t just crisp footage—it’s storytelling, intentional shots, and clarity. You can deliver all three using what’s already in your hand.
How to Vlog With the Right Phone Settings
Let’s talk settings—because this is where most people freeze up. It sounds technical, but I promise it’s not that deep. A few small tweaks can instantly level up your footage.
Frame Rate: What to Use and When
Frame rate affects how motion looks. Here’s a quick cheat sheet:
- 24 fps or 30 fps: Great for everyday vlogging. It looks natural and cinematic.
- 60 fps: Perfect for movement—walking shots, hand gestures, transitions.
- 120 fps and up: Ideal for slow motion. Just don’t overuse it.
My go-to? I shoot in 4K at 24 or 30 fps, then export in 1080p. It gives me that polished look without huge file sizes.
Resolution: Balancing Quality and Storage
- 1080p (Full HD): Looks great, saves space, easier to edit.
- 4K: Crisp and professional, but heavier on storage.
- 8K: Overkill for most vloggers. Skip it.
Unless you’re filming a product demo or high-end campaign, 4K or 1080p is all you need. Don’t stress.
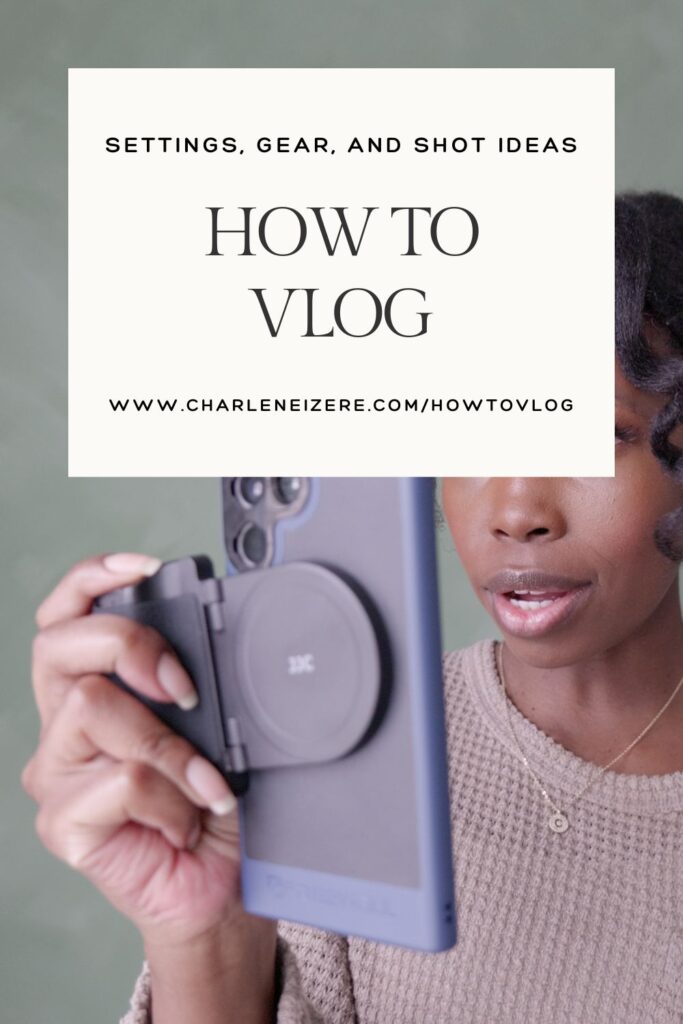
How to Vlog With Minimal Gear (What You Actually Need)
You don’t need a drawer full of gear to create solid content. These are the affordable, easy-to-use tools I actually rely on:
Tripod + Phone Mount
This is the foundation. Look for one with a smooth tilt axis so you can adjust angles without jerky movement. Use a phone holder with multiple cold shoe mounts (perfect for attaching lights or mics).
Gimbal or Manual Dolly
- Gimbal: Game-changer if you’re filming alone. It keeps your movement smooth and allows for tracking shots.
- Manual dolly: Great for B-roll. You can glide your phone for cinematic shots. If you can, get a motorized one so you don’t need to record with another person, otherwise a manual dolly is great for when you aren’t in the scene.
Lighting
Natural light is my first choice, but when the sun isn’t cooperating, I grab my RGB handheld light. It’s portable, soft, and perfect for moody morning or night shots. I also use soft boxes, you can find affordable kits on Amazon.
Audio
- Built-in phone mic: It’ll do in a pinch.
- Lavalier mic: My favorite for talking head segments.
- Shotgun mic: Another great option if you want clear, crisp sound.
Audio is often overlooked, but it’s one of the biggest things that separates “meh” content from polished content.
For a full list of the gear that I use and reccommend click here.
Vlog Shots That Make Your Content Feel Cinematic
You don’t need to reinvent the wheel with every vlog. In fact, I use the same 4 basic shot types in almost every video:
1. Establishing Shot
This sets the scene. It could be your desk, your kitchen, or the outside of a coffee shop. Use it at the beginning of a new scene or location change.
2. B-Roll
These are your filler shots—coffee being poured, shoes going on, laptop opening. They add detail and keep your visuals interesting.
3. Wide Shot
Show yourself in the space. These shots make your vlog feel more immersive and intentional. You can use the ultrawide lens setting (0.6 on Samsung, 0.5 on iPhone) to get that trendy, effortless vibe.
4. Action Shot
Show some movement. Walking into a room, reaching for something, stirring your tea. These little clips bring life to your story.
Want to level up your visual interest? Switch between lenses. Most phones offer a standard, ultrawide, and telephoto lens—use them intentionally to create variety without having to move your setup around.
How to Vlog Without Overthinking Everything
This might be the most important part of all.
I used to stop myself from posting because the edit wasn’t perfect or the moment had passed. But what helped me shift was this:
Done is better than perfect.
It’s okay if your shots aren’t perfect. If the lighting changes. If you used the wrong frame rate once. The point is to build consistency, not perfection.
Build a Repeatable Filming Workflow
Once you know your settings, your gear, and your shot list, filming becomes second nature. You’re not reinventing the wheel each time—you’re just capturing what matters.
Focus on One Platform First
For me, that’s YouTube. I love creating longer-form content and it feels like a space where I can really share the behind-the-scenes of my life and process. Pick one platform where you want to show up and give yourself permission to grow from there.
Start With What You Have — and Build From There
You don’t need a new camera. You don’t need a brand deal. You don’t need to figure it all out first.
You just need to start. With what you already have.
If you’ve been stuck in the “I want to vlog but…” mindset, I hope this gave you a push.
I put everything I shared here into a full video where I walk through my exact setup, favorite tools, and filming approach using my phone. I even show how I sequence my shots to make my vlogs feel more like stories and less like a bunch of clips.
And if you want help building your own creator rhythm, grab my free Creator Era Kickstart Guide for prompts, systems, and tools that actually make content creation feel doable.
You’ve got this. I’m right there with you.
Leave a Reply